Planning a DIN18 Amber Bottle Range: Sizes and Shared Parts
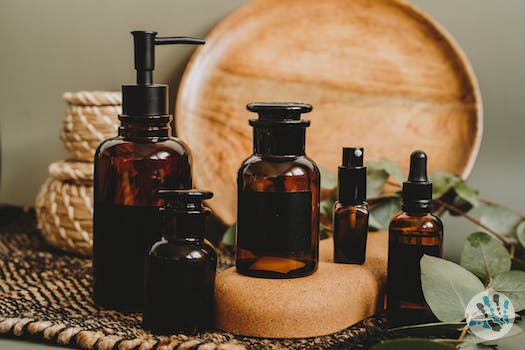
Most brands do not buy one bottle. They launch a line: a starter size, a core size and a larger refill or value size. The way you build that range decides how many SKUs you carry, how often your filling line changes over and how much closure stock sits on your shelves.
DIN18 (GL18) amber bottles make this easier than most formats, because one neck finish covers every volume we list. This article walks through how to plan a range around that fact.
Why the neck finish is the starting point
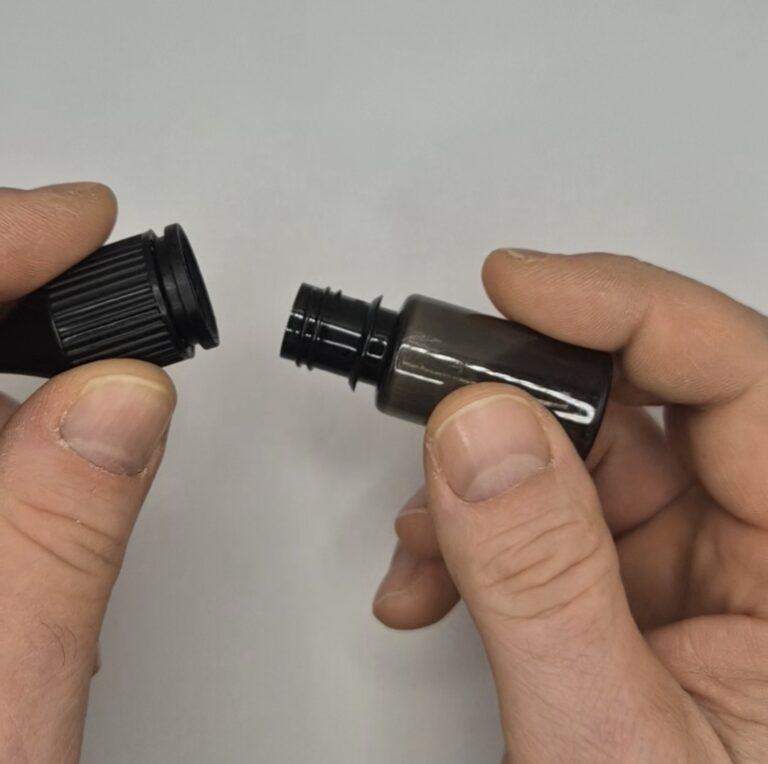
All the bottles in our DIN18/GL18 dropper bottle category share the same neck finish, from 2.5 ml up to 100 ml. Our DIN18 droppers, caps and plugs are compatible with all of them. That means the closure side of your bill of materials can stay the same while the glass changes.
In practice this gives you three advantages:
- One set of closure components to qualify, inspect and store.
- Freedom to add or drop a bottle size without re-qualifying the closure.
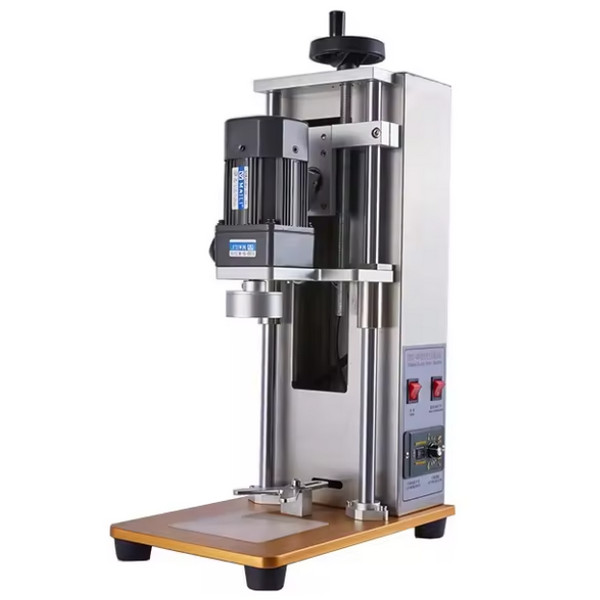
- Simpler capping setup, since the same capping head and torque settings are a good starting point across sizes (you still need to verify each one on your line).
Step 1: Choose a size ladder
A size ladder is the short list of volumes you will actually sell. The range of volumes we offer is wide, so the temptation is to cover all of them. Resist it. Every extra size adds a carton SKU, a label size, a shipper layout and a forecast to maintain.
Here is how the available sizes and heights line up, using the data from the product pages:
| Volume | Height (mm) | Typical role in a range |
|---|---|---|
| 2.5 ml | 44.7 | Sample or trial size |
| 5 ml | 50 or 53.2 | Travel, trial or concentrated formulas |
| 10 ml | 59.2 or 63.7 | Entry size for many oils and serums |
| 15 ml | 65 | Intermediate size |
| 20 ml | 71.5 | Intermediate size |
| 25 ml | 71 or 76.5 | Less common, can set a line apart |
| 30 ml | 80.2 | Core size for many lines |
| 40 ml | 86 | Mid-to-large size |
| 50 ml | 91.7 | Larger size |
| 60 ml | 95.5 | Larger size |
| 100 ml | 110.7 | Refill or value size |
The “role” column is a planning suggestion, not a rule. Your product, your customers and your market decide where each size fits.
A simple three-size model
Many brands do well with three sizes: a small one for trial, a middle one as the hero product and a larger one for repeat buyers. For example, 5 ml, 30 ml and 100 ml. The steps are wide enough that customers see a clear difference, and you only manage three glass SKUs.
A four-size model for more complex lines
If you sell several concentrations or product types, a fourth size can help. Keep the steps visible, though. Offering 10, 15 and 20 ml side by side often confuses buyers, and the height difference between 15 ml (65 mm) and 20 ml (71.5 mm) is small on a shelf.
Step 2: Check the height differences
Volume is not the only number that matters. Several volumes come in more than one height. We list two 5 ml bottles (50 mm and 53.2 mm), two 10 ml bottles (59.2 mm and 63.7 mm) and two 25 ml bottles (71 mm and 76.5 mm). The volume is nominally the same, but the proportions are different.
Before you commit, check:
- Folding carton or tray fit. A few millimeters decide whether a bottle with a dropper fits an existing box.
- Dropper clearance. The pipette must suit the bottle height. Confirm the combination on a sample before ordering in volume.
- Label panel. A taller, narrower bottle gives a different label area than a shorter one.
We cover this in more detail in our article on choosing between heights at the same volume, so here the point is simply to add height to your range checklist.

Step 3: Decide which parts to share
Because the neck is common, you can standardize the closure system across the whole range. The decisions to make once, not once per size, are:
- Closure type. Standard, tamper-evident or child-resistant, depending on your market and product. Our tamper-evident droppers are one option when you want visible evidence of first opening.
- Teat material and color. Match the material to your formula, not to the bottle size.
- Collar finish. Keep one look across the range so the line reads as a family.
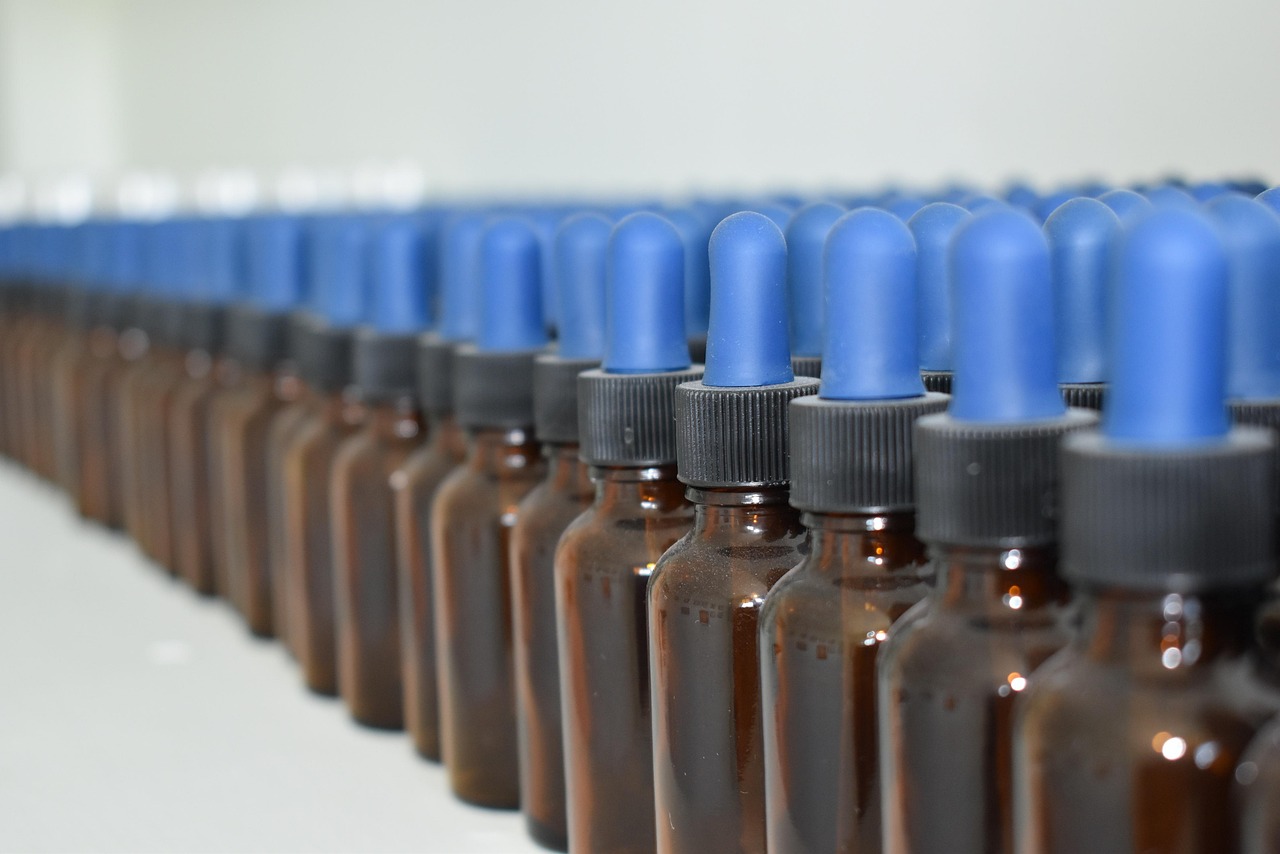
- Pipette style. Plain or graduated. Length will vary by bottle height, so this is the one component that usually changes with size.
The pipette is the exception to the “one part for all” idea. A 5 ml bottle and a 100 ml bottle need different pipette lengths, so plan for at least a few pipette SKUs even though the collar and teat stay the same.
Step 4: Plan the filling line
A range of three to four sizes is manageable on one line, but changeovers cost time. A few ways to keep them short:
- Group production runs by size and run the smaller volumes together.
- Keep height-dependent parts, such as fill nozzles, guide rails and star wheels, labeled and stored near the line.
- Run a first-article check after each changeover: fill level, closure seating and dropper alignment.
- Record the capping settings that worked for each size, so the next run starts from known values.
If you have a semi-automatic setup, the same principles apply. Write the settings down and keep them with the job sheet.
Step 5: Order samples before you lock the range
Before you finalize the ladder, test the real combination of bottle, dropper and your product. Two quick checks catch most problems early:
- Fit and seating. Assemble a few units and check that the closure seats fully and the pipette sits correctly in the bottle.
- Handling. Fill, close, label and pack a few units by your normal method, then see what the finished bottle looks like.
Look at two or three candidates, such as the 10 ml bottle at 63.7 mm and the 30 ml bottle at 80.2 mm, and compare them in your own hands and on your own line.
Common range-planning mistakes
- Too many sizes at launch. Start with fewer. Adding a size later is easier than removing one.
- Sizes too close together. Customers will not see the difference, and you will split your volume across SKUs.
- Ignoring height variants. Two bottles with the same volume are not interchangeable in packaging.
- Treating the pipette as a fixed part. It changes with bottle height.
- Skipping a test assembly. A paper spec is no substitute for a physical sample.
FAQ
Can I use the same dropper on every DIN18 bottle size?
The neck finish is the same, so the closure parts fit all sizes. The pipette length depends on bottle height, so you will need to match it to each size.
How many bottle sizes should a new line start with?
Three is a common starting point: a small trial size, a core size and a larger size. Add more only when sales data supports it.
Why are some volumes listed with two heights?
The same nominal volume can come in different bottle proportions. Check height against your carton, label and dropper before ordering.
Should I test a combination before a full order?
Yes. Assemble and fill a small number of units, then check closure seating, pipette fit and how the finished bottle packs.
Ready to build your range? Browse the shop or contact us for samples and advice on sizes and combinations.