Incoming Inspection Checklist for Glass Dropper Pipettes
A glass pipette is a small, inexpensive part. It is also one of the first things a customer sees when they open a dropper bottle. A chipped tip, a pipette that is too short, or one that rattles in the collar can turn a good product into a complaint.
Most of these faults are easy to catch when a delivery arrives. This article gives production and quality teams a simple incoming inspection routine for straight-tip glass pipettes used in DIN18 dropper assemblies. It uses only checks you can do with a ruler, a bench light and a few sample bottles.
Why inspect pipettes on arrival?
Once pipettes are mixed into a filling line, a defect becomes expensive. You may find it only after bottles are filled, capped and labeled. Then the choices are rework, scrap or shipping a doubtful product.
A short inspection at the goods-in door costs minutes. It also gives you a record to show your own customers or auditors that incoming components were checked.

Step 1: Check the paperwork against the order
Before opening a carton, compare the delivery note and carton labels with your purchase order. Confirm:
- The pipette length and the bottle size it is meant for
- The quantity per carton and the number of cartons
- Whether the item is a plain pipette or a graduated one
- That cartons are undamaged, dry and not crushed at the corners
Mixing up lengths is the most common error. Neighboring sizes look almost identical, so rely on labels and a ruler rather than a visual impression.
Step 2: Verify the length
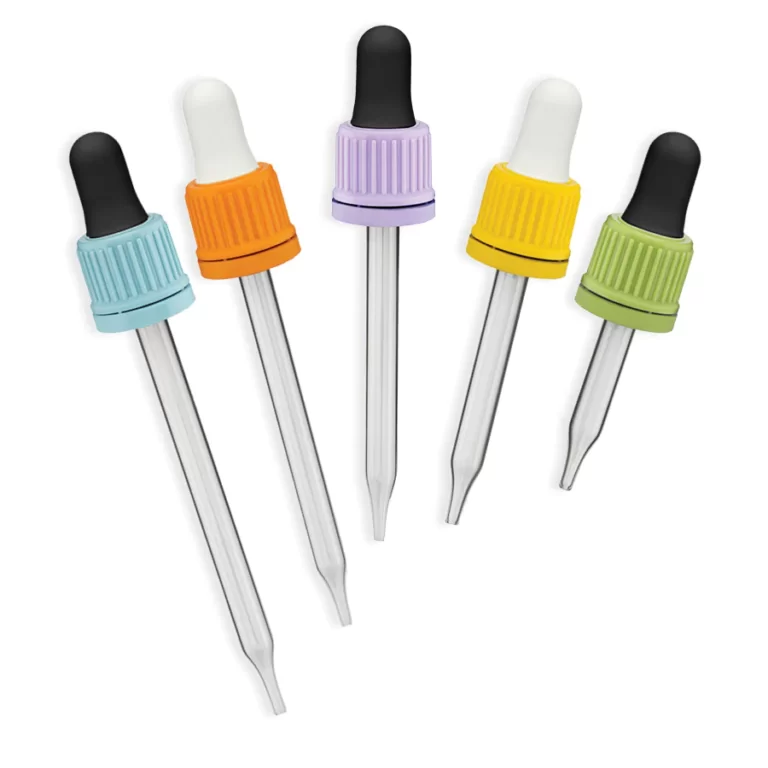
Pull a few pipettes from different cartons and measure them. The length should match the bottle size you ordered it for. For our ClearFlow straight-tip glass pipettes, the lengths for DIN18 bottles are:
| Bottle size | Pipette length |
|---|---|
| 5 ml | 48 mm |
| 10 ml | 58 mm |
| 15 ml | 63 mm |
| 20 ml | 70 mm |
| 30 ml | 77 mm |
| 50 ml | 90 mm |
| 60 ml | 91 mm |
| 100 ml | 108 mm |
Note that 50 ml and 60 ml pipettes differ by only 1 mm. If you run both sizes, store them in clearly separated, labeled locations.
The bottle is what finally decides whether a length works. Bottle heights vary even at the same nominal volume, so test your pipette on your own bottle. Our guide on DIN18 dropper bottles is a good starting point for the matching bottle.

Step 3: Inspect the tip
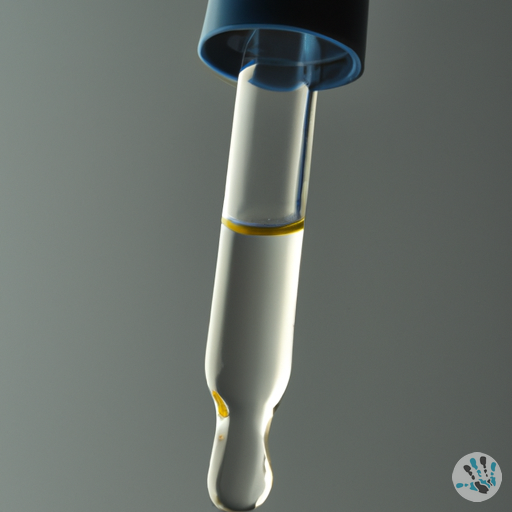
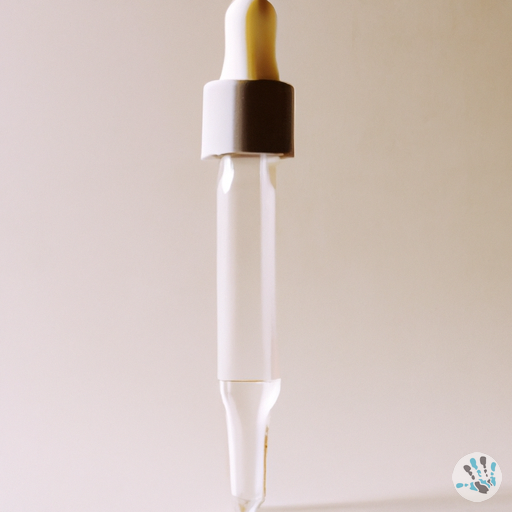
The tip is where the liquid leaves the pipette, so it matters most. Hold a handful of pipettes under a bench light and look at the lower end of each one.
- Chips or cracks. Even a small chip can leave a sharp edge or affect how the drop forms.
- Blocked or partly closed opening. Hold the pipette up to the light and look through it. Draw a little water or a test liquid and release it to check flow.
- Uneven tip shape. A straight tip should look consistent from pipette to pipette. Set aside any that look clearly different from the rest.
- Bends or distortion. Roll a few pipettes on a flat surface. A bent one will not roll evenly.
Do not run a finger across a damaged tip to test it. Use a lens or good light, and wear gloves when handling broken glass.
Step 4: Inspect the upper end and the body
The top of the pipette is what sits inside the teat and collar. Check that the rim is finished and free of sharp flakes. Look along the body for:
- Scratches or scuffing that could catch the light and look like a flaw
- Streaks, residue or dust inside the tube
- Visible bubbles or inclusions in the glass that look unusual compared with the rest of the lot
If your product is clear and the pipette stays visible through the bottle, cosmetic appearance deserves more weight. For a dark amber bottle it matters less, but the customer still sees the pipette on opening.
Step 5: Do a fit test with real components
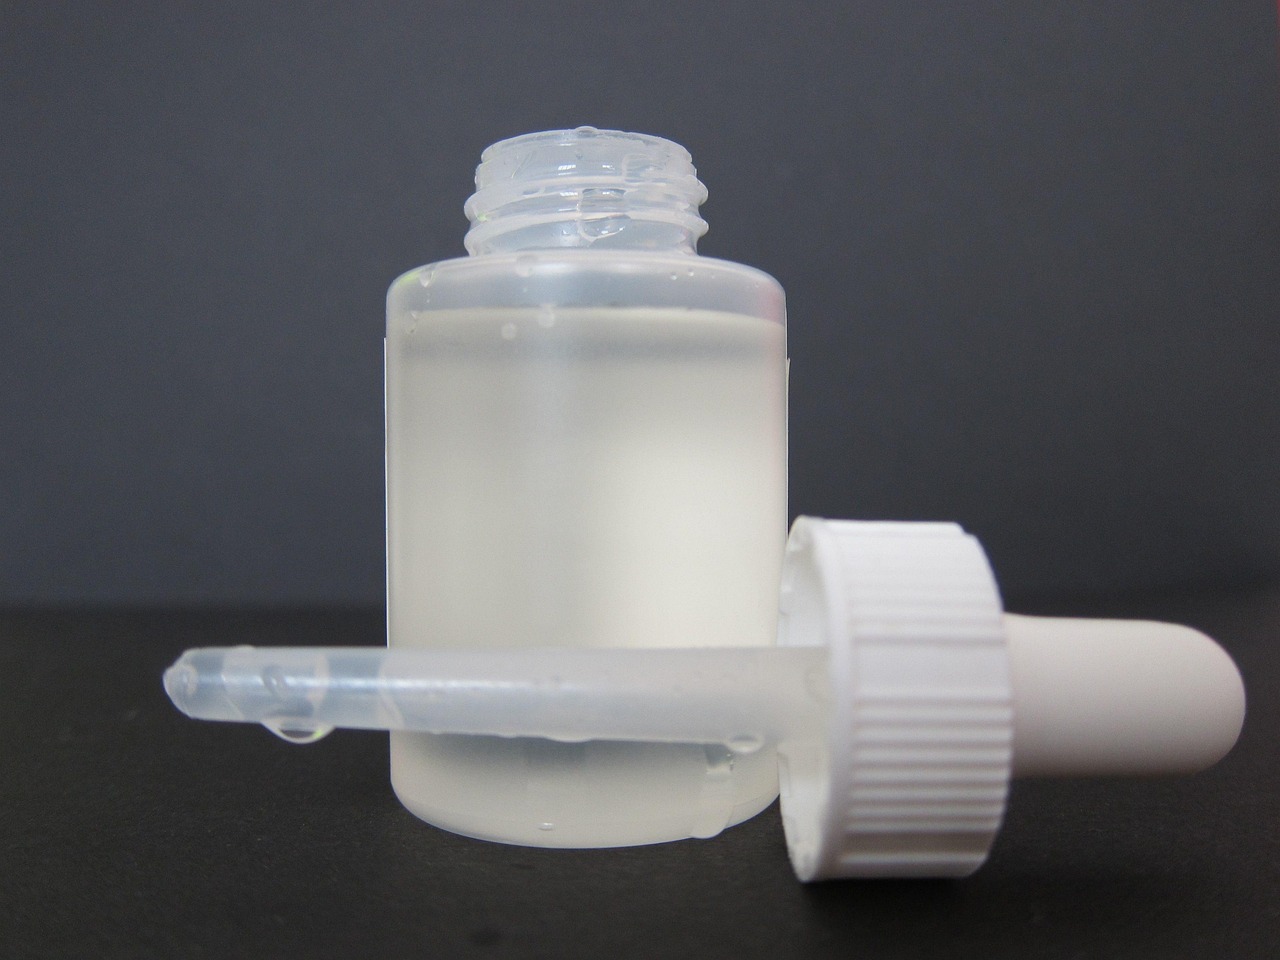
A pipette can pass every visual check and still be wrong for your assembly. Take a small sample and assemble it with the teat and collar you actually use. Then check:
- Seating in the teat. The pipette should sit firmly without needing excessive force. It should not slide out under light pull.
- Clearance in the bottle. With the collar tightened, the tip should sit just above the bottom without pressing on it.
- Clearance at the neck. The pipette should pass through the bottle opening without scraping. If you use a wiper or plug, check that too.
- Squeeze and release. Draw liquid, hold the bottle upright and tilt it. Check that the pipette draws and releases as expected.
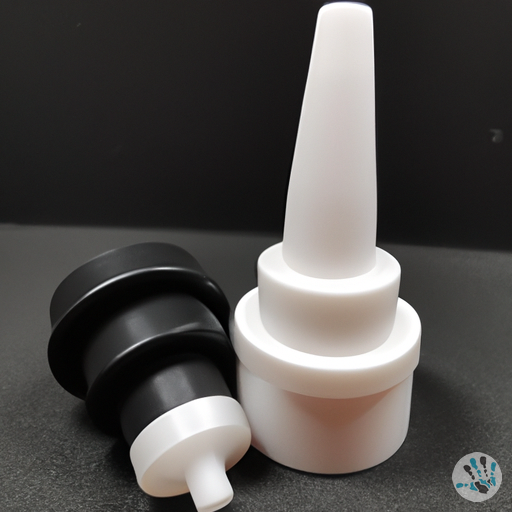
The teat material changes how it all feels, so test the exact combination you will ship. For help picking teats, see our GentleTouch teats range.
Step 6: Decide how many to sample
There is no single right sample size. It depends on your quality system, your customer’s requirements and the risk of the product. A few practical approaches:
- Use the sampling plan already in your quality procedures if you have one
- Sample from several cartons, not just the top one
- Sample more heavily for the first delivery of a new item or after a supplier change
- Reduce sampling only after several deliveries with no findings
Whatever you choose, write it down. A defined plan is easier to defend than an informal glance at the box.
Step 7: Record what you find
Keep a simple record for each delivery. It does not need to be elaborate:
- Date, item, quantity and lot or carton reference
- Sample size and what was checked
- Number of defects and what kind
- Decision: accepted, held or rejected
- Photos of any defect
If you find a problem, photograph it next to a ruler, keep the carton and note the reference. That makes a claim much faster to resolve.
Handling and storage after acceptance
Passing inspection does not protect pipettes from damage later. Keep them in their original cartons or bags until use, store them away from dust and moisture, and avoid stacking heavy items on top. When opening a bag, close it again if you do not use everything. Pipettes that fall on the floor should be discarded, not put back.
If your pipettes carry a scale, add a check that the markings are legible and consistent. Our GraduFlow graduated pipettes have their own points to check, which we cover in a separate article.
Common mistakes at goods-in
- Checking only the first carton of a multi-carton delivery
- Judging length by eye instead of measuring
- Skipping the fit test with the real teat and collar
- Not keeping a record, so a later complaint cannot be traced
- Storing different lengths together without labels
FAQ
How many pipettes should I inspect from each delivery?
Follow your own quality plan. If you have none, sample from several cartons and increase the sample for new items. Document the sample size so it can be repeated.
Can I check pipette length without special tools?
Yes. A ruler or caliper is enough for length. Compare the result with the length listed for your bottle size and test the pipette in a real bottle.
What should I do if I find chipped pipettes?
Set the affected cartons aside, photograph the defect with a ruler, note the carton reference and contact us with the details. Do not use damaged pipettes in assemblies.
Do I need to test every new teat and pipette combination?
Yes, a short fit test with the real components is worthwhile. Teat, pipette and collar work together, and a combination that works for one bottle size may not feel right on another.
Need samples to build your inspection routine around, or advice on the right pipette for your bottle? Browse the shop or send us a message and we will help you choose.