Small-Batch Dropper Bottle Line: Fill, Screw and Cap
Many brands of CBD oils, essential oils, serums and supplements start by filling dropper bottles by hand. At some point the batches grow and the manual steps become the bottleneck. You do not need a full automatic line at that point. A small line made of three or four well-chosen stations is usually enough.
This guide walks through the stations in the order the bottle passes them: preparation, filling, dropper or cap application, and packing. It also covers what to check at each one and where small teams most often lose time.
Start with the bottle, not the machine
Every machine setting depends on the container and closure. Before you compare machines, write down the following for each product:
- Neck finish (for example DIN18) and bottle height
- Closure type: assembled dropper, plain cap, tamper-evident or child-resistant version
- Closure diameter and the material of the collar or cap
- Product behavior: thin oil, thick serum, a liquid that separates or needs stirring
- Target batch size and how many batches per week
Machine data sheets usually give a range for cap diameter and bottle height. If your bottle or closure sits at the edge of that range, ask for a trial before you buy. Our tamper-evident droppers and their dimensions are a good starting reference when you define your closure.
Station 1: Mixing and filling
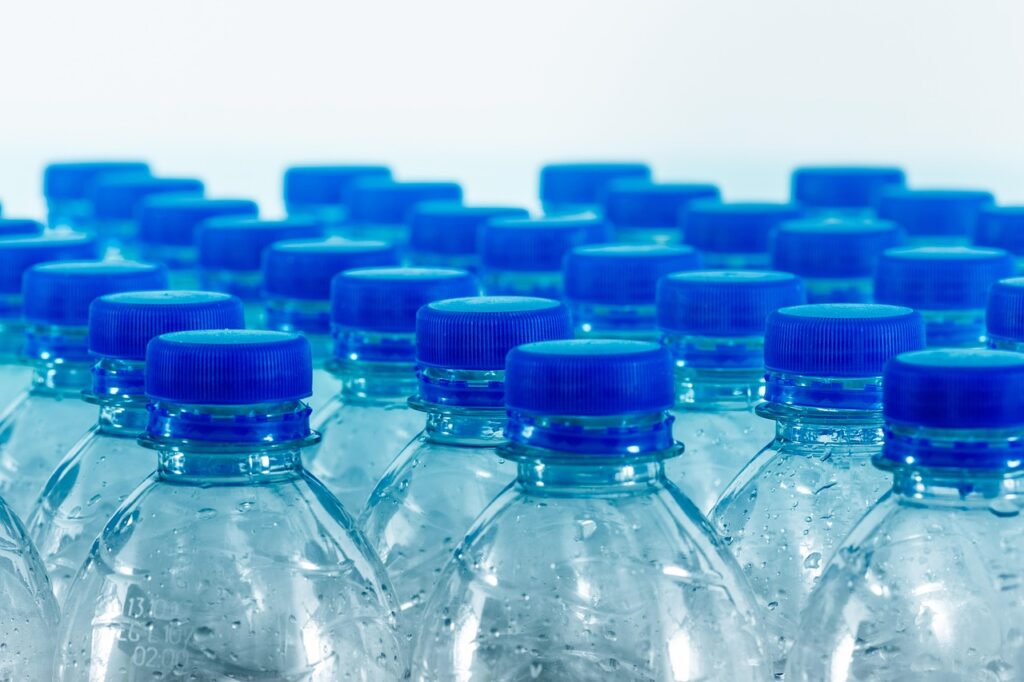
If your product needs to stay uniform while it is being filled, a filler with its own mixing tank saves a separate transfer step. The semi-automatic pneumatic mixing filling machine in our range is built around that idea. According to the product data it handles 1–30 bottles per minute and is available for 110 V or 220 V.
Before ordering any filler, check these points:
- Power and air supply. A pneumatic machine needs a compressed air source. Confirm the requirements with us so your workshop is ready on delivery.
- Product compatibility. Oils, water-based liquids and thicker preparations behave differently. Describe your product when you ask, and test it where possible.
- Fill volume range. Make sure your smallest and largest bottle sizes both fit comfortably in the setting range.
- Cleaning. If you run several products, think about how long a changeover takes and which parts contact the liquid.
Leave room for the pipette
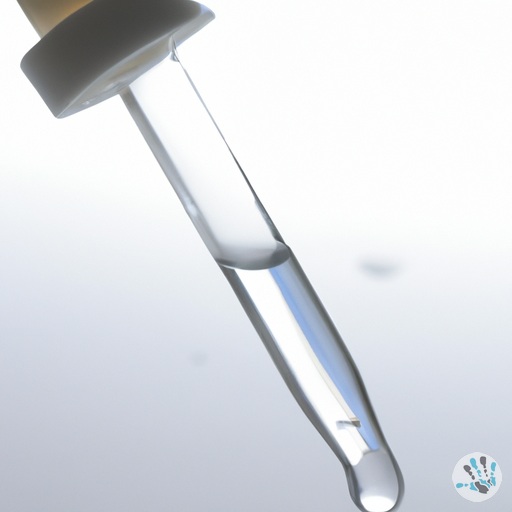
A frequent mistake with dropper bottles is filling to the usual shoulder level. When the pipette goes in, it displaces liquid. Overfilled bottles then push product up the neck and onto the collar. Run a test with your actual dropper and set the fill level so the liquid stays below the neck after insertion. Adjust per bottle size, not once for the whole range.
Pre-mixing in the lab
For formulations that need to be dispersed before filling, a laboratory-scale mixer is useful for development batches. The FSH-2A laboratory homogenizer runs at 8,000–20,000 rpm with a capacity of up to 1 liter and a stainless steel (SUS304) construction. It suits trial batches and sample production rather than full production volumes.
Station 2: Applying the dropper
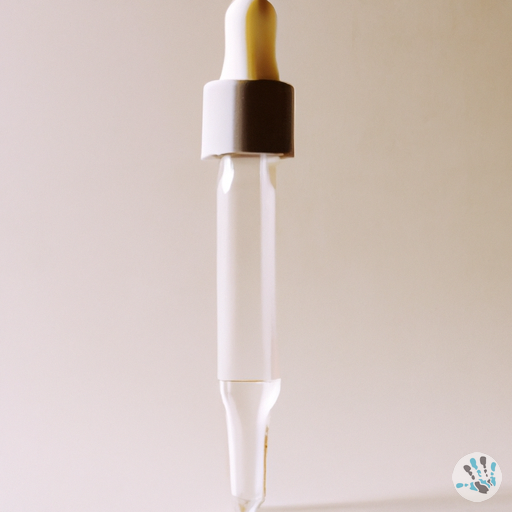
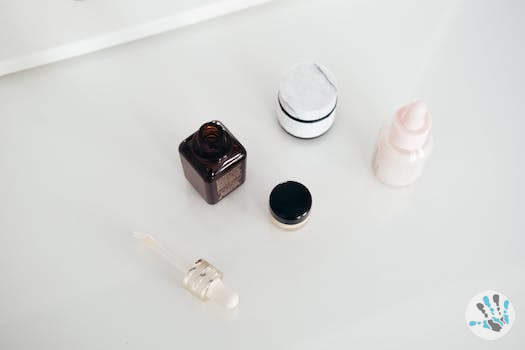
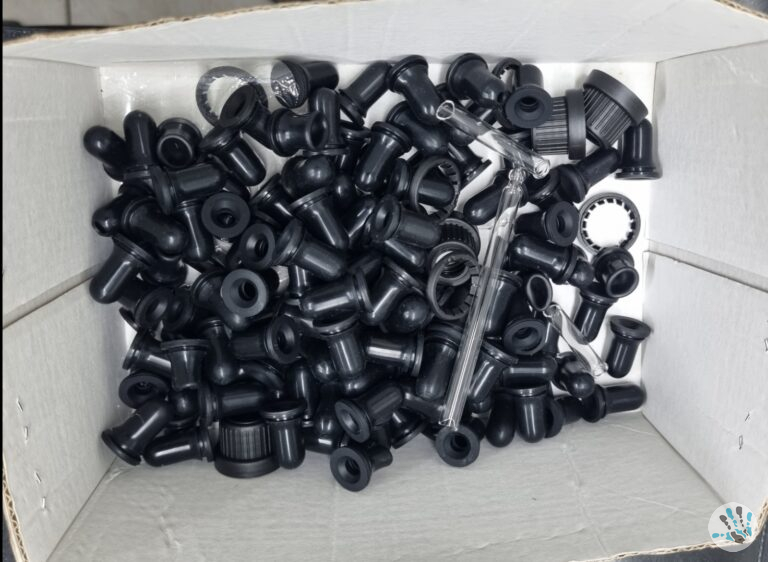
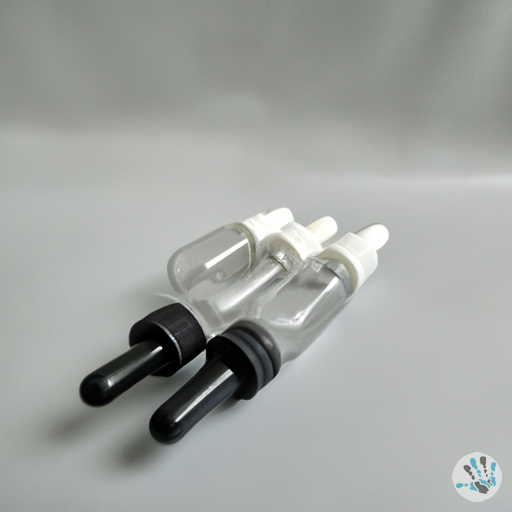
An assembled dropper has a pipette, teat and collar. It has to be screwed on straight and tight enough to seal, without damaging the collar or deforming the teat. On a small line this is where inconsistency creeps in, because different operators tighten differently.
A simple fix is a screwing tool that fits a power drill or screwdriver. Our custom-made screwing tool for droppers and caps attaches through a hexagonal shank and is designed for fast, uniform closing. It is a low-cost way to reduce hand fatigue and keep the closing result more consistent across a shift.
Tips for consistent application
- Seat the pipette straight in the bottle before turning. A bent entry can scratch the glass neck or mark the collar.
- Use a drill with adjustable speed or a clutch setting, and keep the speed low and steady.
- Do a leak check on the first bottles of every run. Our article on the shop pages is not a substitute for your own test method, so define the check in your quality plan.
- Look at the collar after closing. Scuffs on aluminium or glossy collars are easy to avoid with the right tool fit and speed.
Station 3: Capping
If you use plain screw caps or caps with a tamper-evident band, a capping machine gives more repeatable results than any hand tool. Two options in our range cover different needs:
| Machine | Caps | Bottle height | Speed | Type |
|---|---|---|---|---|
| Automatic single-head capping machine with conveyor | 10–30 mm | 50–150 mm | Up to 30 bottles/min | Automatic with conveyor |
| Tabletop semi-automatic capping machine DDX450 | 16–50 mm | 50–400 mm | Up to 30 bottles/min | Semi-automatic, 220 V |
The single-head machine suits small dropper bottles in a steady flow. The DDX450 covers a wider range of closure diameters and much taller bottles, which helps if you also fill larger formats. Both list up to 30 bottles per minute, so the choice depends on size range and how much operator input you want. We compared the two approaches in more depth in our article on semi-automatic versus automatic capping.
Note that these machines are designed for caps. If your closure is an assembled dropper with a pipette, run a trial before relying on a capping head for it.
Station 4: Packing and protection
Filled glass bottles need protection in shipping cartons. Loose bottles in oversized boxes are a common source of breakage. The KAD-1000 air cushion machine makes air pillows from film rolls, with adjustable sealing (levels 1–9), a choice of 6 or 12 m/min speed and 110–220 V operation. It is a practical addition if you ship filled bottles to customers directly. For lot coding, our custom steel lot numbers can be made to your size and characters for compatible packing machines.
Common mistakes on small lines
- Buying for peak speed. Real throughput is limited by loading, unloading and checks, not by the nominal bottles per minute.
- Ignoring changeovers. If you run five bottle sizes, check how long each adjustment takes.
- Skipping first-article checks. Check fill level, closure fit and leak behavior on the first bottles of every batch and record the result.
- Mixing up voltage. Several machines come in 110 V or 220 V versions. State your supply when ordering.
- Forgetting the CE question. Review the documentation you need for the markets you serve before purchase.
A simple way to scale
Begin with the stage that causes the most inconsistency. For many teams that is closing, so a screwing tool comes first. When filling time becomes the limit, add a filler. When caps or volumes grow further, add a capping machine. Each step can be bought on its own and keeps the earlier equipment useful.
FAQ
Can one machine handle several bottle sizes?
Within the stated ranges, yes. Capping machines list a cap diameter range and a bottle height range. Fillers have a volume range. Each size change usually needs some adjustment, so plan time for it.
Do I need a machine if I already use assembled droppers?
Not necessarily. Assembled droppers only need to be screwed onto the bottle. A drill-driven screwing tool is often enough for small and medium batches.
Which voltage do the machines use?
It depends on the model. The filling machine and air cushion machine are listed with 110 V and 220 V options, and the DDX450 with 220 V. Confirm the right version for your site when ordering.
Can you advise on which bottles and closures fit my machine?
Yes. Send us your bottle height, neck finish and closure type and we will help you check them against the machine data.
If you are planning a line or upgrading a manual step, browse the shop or contact us for samples and advice on matching bottles, closures and machines.