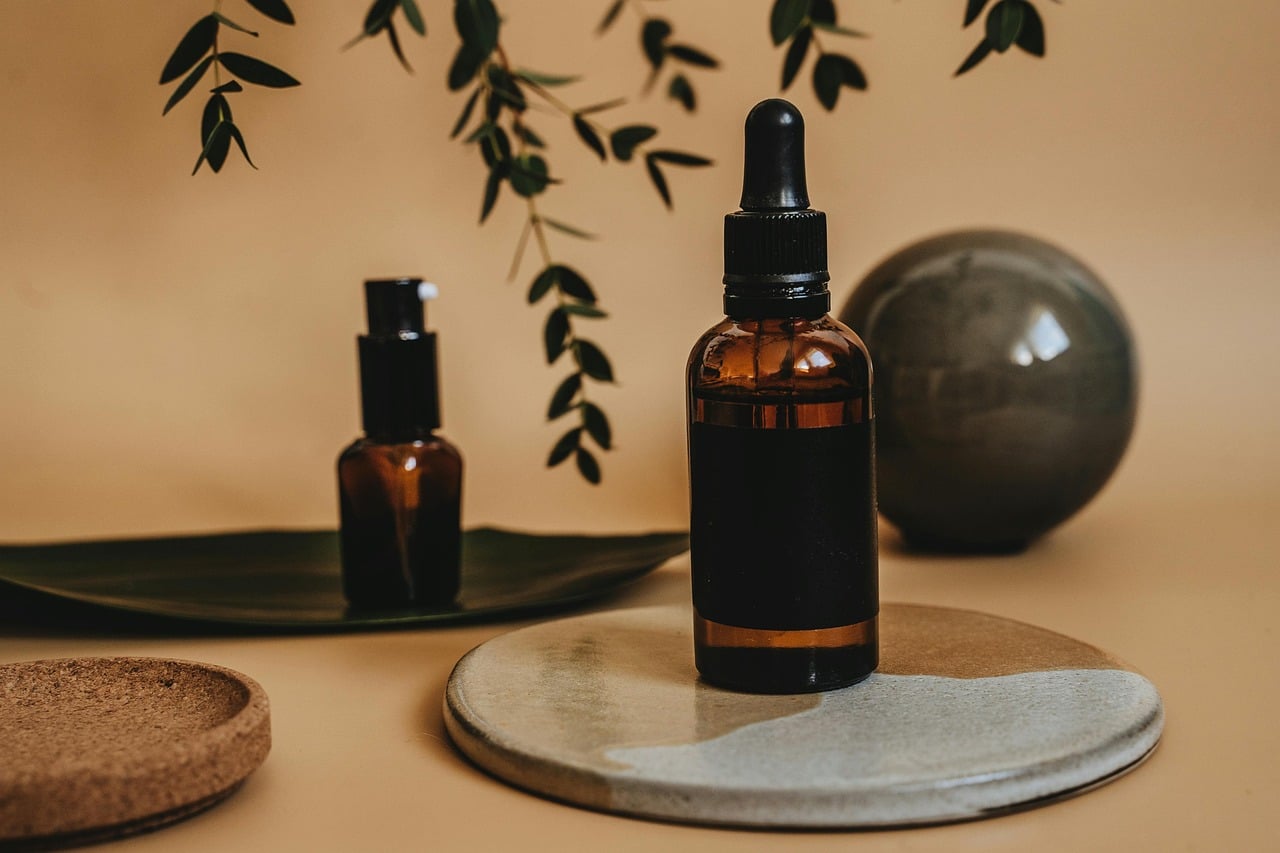
Lista kontrolna zgodności elementów DIN18 dla zakraplaczy i roll-on
Zamknięcie typu zakraplacz lub roll-on rzadko składa się z jednego elementu. To mały system: szyjka butelki, wkładka lub wkładka uszczelniająca, nakrętka lub kołnierz, gruszka, pipeta lub kulka. Każdy element może być w porządku sam w sobie, a mimo to zawieść w połączeniu. Efektem może być nakrętka, która nie zakłada się prawidłowo, pipeta dotykająca dna, lub wkładka, która luzuje się po transporcie.
Ta lista kontrolna jest przeznaczona dla kupujących, twórców produktów i kierowników produkcji, którzy chcą najpierw potwierdzić zgodność na papierze, a dopiero potem na próbce. Koncentruje się na wykończeniu szyjki DIN18, które jest standardem, z którym pracujemy najczęściej, oraz na elementach w naszej Części i komponenty .
Dlaczego występują problemy ze zgodnością
Najczęstsze przyczyny są proste:
- Elementy są zamawiane od różnych dostawców i nikt nie porównuje ich ze sobą.
- Wykończenie szyjki przyjmuje się bez potwierdzenia (na przykład zakładając, że “18 mm” oznacza wszędzie to samo).
- Element zostaje wymieniony ze względów estetycznych, np. na nakrętkę w innym kolorze, bez ponownego sprawdzenia dopasowania.
- Produkt się zmienia (gęstszy olej, bardziej lotna mieszanka), ale zamknięcie pozostaje bez zmian.
Żadnej z tych sytuacji nie jest trudno uniknąć. Wystarczy ustalona kolejność kontroli.
Krok 1: Potwierdź wykończenie szyjki
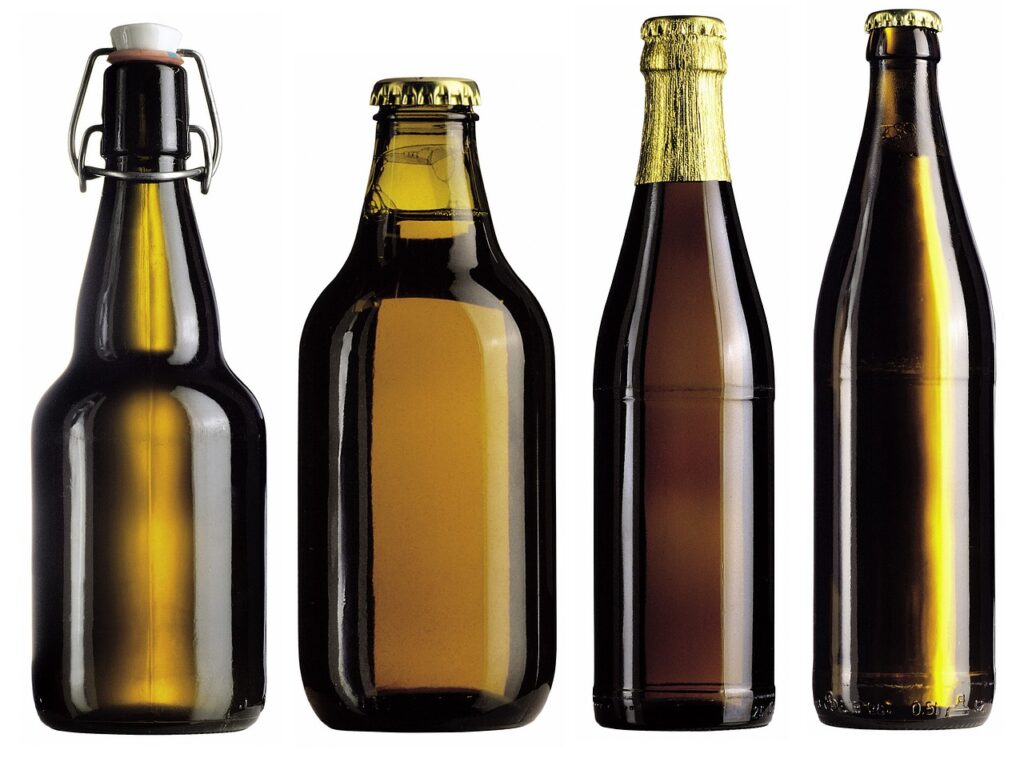
Zacznij od butelki. Zapisz wykończenie szyjki zgodnie ze specyfikacją butelki, a nie z pamięci. W przypadku butelek DIN18 wszystkie elementy zamknięcia muszą być określone dla tego samego wykończenia. Jeśli stosujesz inną lub niestandardową szyjkę, zaznacz to w zapytaniu, ponieważ standardowe elementy mogą do niej nie pasować.
Zwróć także uwagę, w jaki sposób zamknięcie ma uszczelniać. Niektóre uszczelniają się na krawędzi szyjki, inne przez wewnętrzną wkładkę dociskaną do otworu, a jeszcze inne przez oba te sposoby. Wpływa to na to, jakich elementów potrzebujesz i jak ze sobą współdziałają.
Co zapisać
- Oznaczenie wykończenia szyjki (DIN18 lub inne)
- Pojemność butelki i kolor szkła
- Wysokość butelki, która ma znaczenie dla długości pipety
- Czy butelka jest przeznaczona na wkładkę, zestaw zakraplacza czy atomizer
Krok 2: Najpierw wybierz funkcję dozowania
Zanim wybierzesz kolor lub wykończenie, zdecyduj, w jaki sposób produkt będzie wydostawał się z butelki. To funkcja determinuje listę elementów:
- Dozowanie kropla po kropli: gruszka, kołnierz i pipeta.
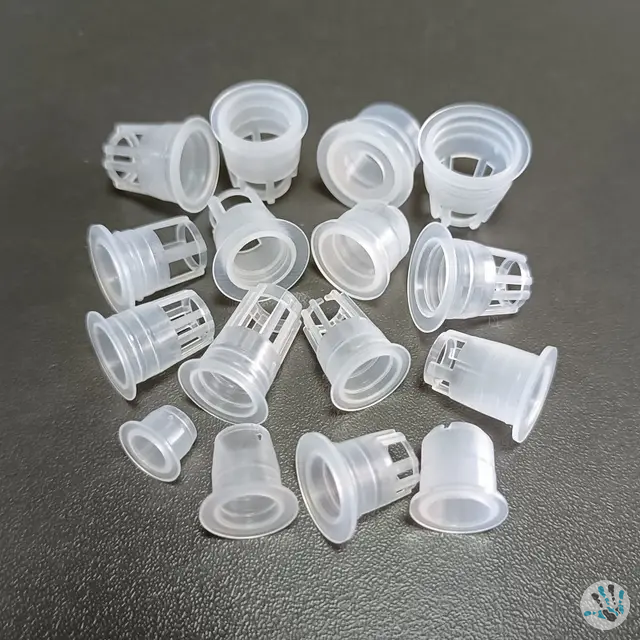
- Kontrolowane wylewanie lub redukcja otworu: wewnętrzna wkładka lub wkładka uszczelniająca oraz nakrętka.
- Nanoszenie na skórę po powierzchni: wkładka roll-on z kulką i nakrętka.
- Drobna mgiełka: nasadka atomizera.
Jeśli wciąż zastanawiasz się nad formatem, nasz artykuł o wyborze wkładki DIN18 według zastosowania omawia to porównanie. Tutaj zakładamy, że funkcja jest już wybrana, i skupiamy się na tym, aby elementy do siebie pasowały.
Krok 3: Sprawdź każdy element względem sąsiednich
Poniższa tabela pokazuje, do czego musi pasować każdy element oraz najczęstszy błąd, jaki obserwujemy.
| Element | Musi pasować do | Częsty błąd |
|---|---|---|
| Butelka | Wykończenie szyjki, wysokość, pojemność | Zakładanie wykończenia bez sprawdzenia specyfikacji |
| Wkładka lub wkładka uszczelniająca | Otwór butelki i nakrętka nakładana na nią | Zmiana nakrętki bez ponownego sprawdzenia osadzenia wkładki |
| Nakrętka lub kołnierz | Gwint szyjki oraz gruszka lub wkładka pod spodem | Zamawianie wykończenia wyłącznie ze względów wyglądu |
| Gumka | Otwór kołnierza i góra pipety; zgodność z produktem | Ignorowanie wpływu produktu na materiał |
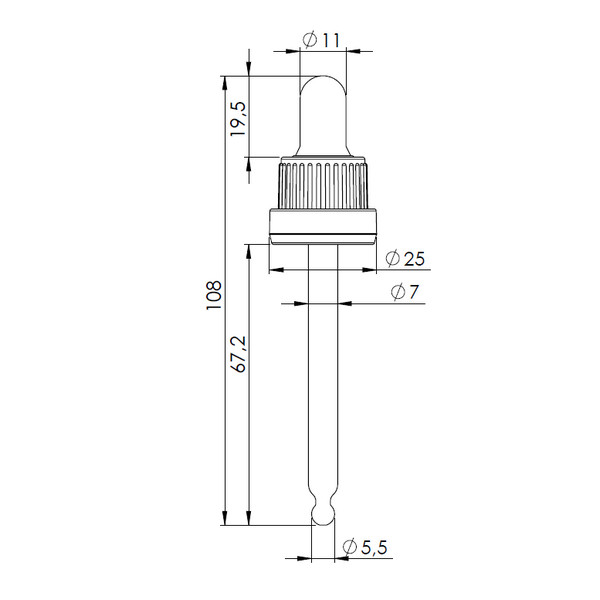
| Pipeta | Wysokość butelki i dopasowanie gruszki | Pipeta za długa lub za krótka do butelki |
| Wkładka roll-on z kulką | Szyjka butelki i lepkość napełnienia | Testing with water instead of the real product |
Step 4: Think about the product, not just the parts
Your formulation is part of the system. Oils, alcohol-based blends, essential oils and water-based serums behave differently against plastics and elastomers. Before approving a combination, ask:
- Is the teat material suitable for the liquid you fill? NBR, silicone and TPE respond differently to different liquids, so test with your actual formula.
- Does the product contain strong solvents or fragrance components that may soften or swell plastic parts?
- Is the liquid thin enough to leak around a plug, or thick enough to flow poorly through a roll-on ball seat?
We do not state chemical resistance data unless it is in the product specification, so the practical answer is always to run a compatibility test with your own product and your chosen parts.
Step 5: Roll-on sets, a worked example
Roll-on sets show why a combined check matters. A set such as the steel ball roll-on plug for DIN18 bottles with a transparent plug and black PP screw cap brings together a stainless steel ball, a transparent plug and a screw cap. The plug holds the ball and seats in the neck, and the cap closes over it.
Before ordering a carton, check:
- That the bottle is a DIN18 finish.
- That the fill is suitable for a ball applicator. Very thin liquids may run more freely than you want.
- That the cap color suits the bottle and label design. The same set is offered with different cap colors, so match it to your artwork early.
- That the cap closes fully and feels consistent across several units, not only one sample.
Nasze GuardSeal plug range lists the other plug types if a roll-on is not the right format for your product.
Step 6: Check pipette and bottle height together
Pipettes are the part most often mismatched to the bottle. If the tip rests on the bottom, it can limit draw-up and make the last portion of product hard to reach. If it is too short, the tube may not reach the liquid as the level drops. Always measure the sealed assembly with the bottle upright rather than comparing two numbers on paper. Our pipety szklane are available in more than one format, so pick based on the bottle you actually use.
Step 7: Run a small pilot before the full order
A short pilot catches most of what a spec sheet cannot. A reasonable routine:
- Assemble five to ten complete units with the exact parts you plan to order.
- Fill them with the real product, not a stand-in.
- Cap with the torque or pressure your line will use.
- Store some upright and some on their sides for a few days, then inspect for seepage at the neck.
- Dispense from each unit and check that the function is consistent.
- Ship a few units in your normal carton and check them again on arrival.
Record the results with part descriptions, so a reorder months later uses the same combination.
Keep a simple parts record
Once a combination works, document it. A one-page record is enough:
- Bottle description and neck finish
- Every component with its description and color
- Fill product and batch used in the test
- Date of the test and the person who approved it
When any part changes, repeat the pilot. It takes a short time compared with the cost of a recalled batch.
FAQ
Are all DIN18 parts interchangeable?
They are designed around the same neck finish, but you should still confirm fit with a sample. Differences in plug design, collar shape and cap style can affect how parts work together.
Can I change only the cap color on an existing assembly?
Usually yes if the cap model stays the same, but check that the new batch seats and seals the same way. If the cap style changes, treat it as a new combination and test it.
Should I test with water or my actual product?
Use your actual product. Viscosity, solvents and fragrance components can change how a plug seals, how a ball rolls and how an elastomer behaves.
Czy mogę otrzymać próbki przed zamówieniem kartonu?
Yes. Contact us with your bottle details and intended use, and we can advise on a combination and arrange samples where available.
Ready to compare parts? Przeglądaj sklep or contact us for samples and advice on a DIN18 combination that fits your product.